DIY Guide: Build and Upholster Kitchen Stools

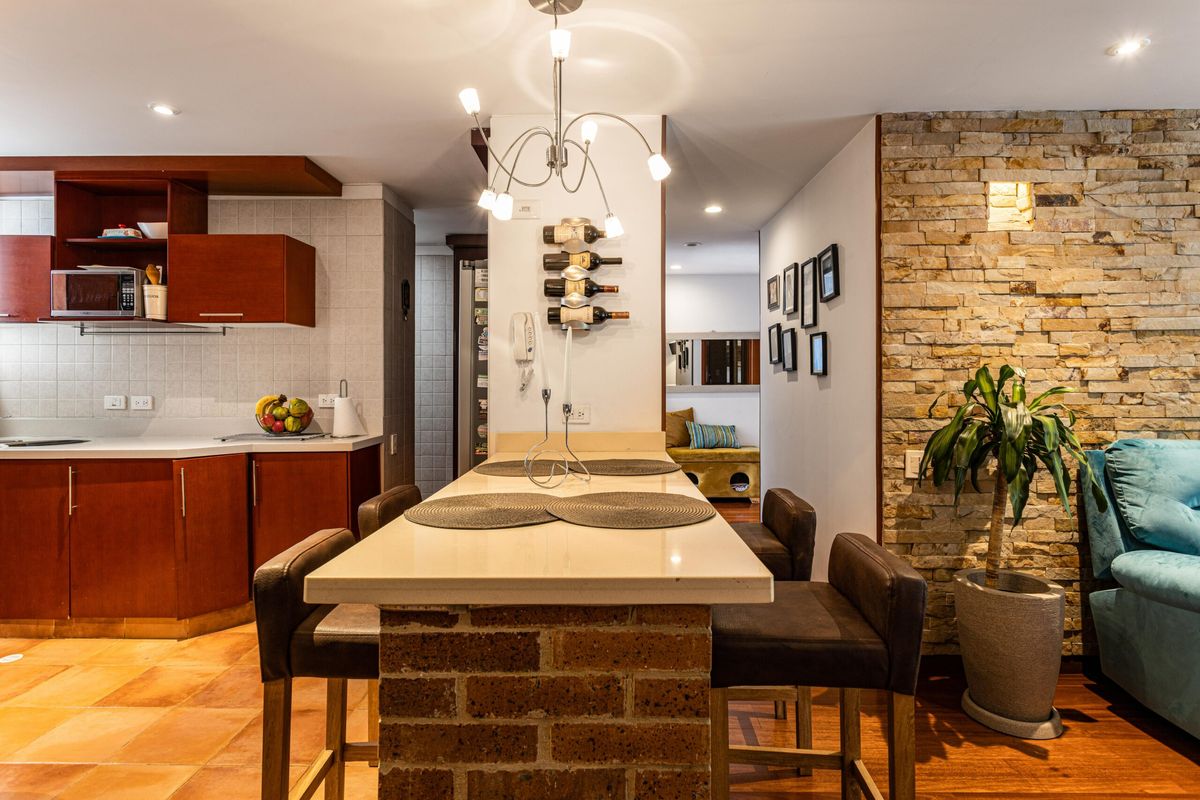
Counter-top height stools are versatile and practical pieces of furniture that can serve multiple purposes in your home. They can be used in your kitchen, bar, or dining area, providing extra seating and adding a touch of style to your space. However, buying counter-top height stools can be expensive, and finding the perfect design and fabric can be a challenge. In this blog post, we will guide you through the process of building and upholstering your own counter-top height stools, making it a fun and affordable DIY project.
Step 1: Gather the Supplies
Before you start building your stools, gather all the necessary supplies. Here are the items you will need:
- Wood (we recommend using hardwood such as oak, maple, or walnut)
- Saw (circular or miter saw)
- Sandpaper
- Wood glue
- Clamps
- Wood screws
- Drill
- Upholstery foam
- Fabric
- Staple gun
- Scissors
Step 2: Measure and Cut the Wood
Measure and cut the wood according to your desired stool height and width. For a standard counter-top height stool, the seat height should be between 24-26 inches. The width of the stool can vary depending on your space and design preference. Use a saw to cut the wood to the desired length and sand the edges to smooth them out.
Step 3: Assemble the Stool
Once you have cut the wood to the right size, assemble the stool by applying wood glue to the joints and securing them with wood screws. Use clamps to hold the pieces together until the glue dries.
Step 4: Sand and Finish the Stool
After the stool is assembled, sand the surface of the wood to smooth out any rough spots. You can also apply a finish such as paint, stain, or varnish to protect the wood and give it a polished look.
Step 5: Upholster the Stool
To upholster the stool, first, measure and cut the upholstery foam to fit the size of the stool seat. Then, lay the fabric face down on a flat surface and place the foam on top of it. Pull the fabric tightly over the foam and staple it to the underside of the stool seat, starting from the center and working your way outwards. Make sure to pull the fabric taut to avoid any wrinkles or sagging.
Step 6: Add Finishing Touches
Once the stool is upholstered, you can add any finishing touches such as decorative trim or buttons to give it a personalized look. You can also add non-slip pads to the bottom of the stool legs to prevent them from scratching your floors.
Building and upholstering your own counter-top height stools can be a fun and rewarding DIY project that not only saves you money but also allows you to create a unique piece of furniture that matches your personal style. By following these simple steps and using quality materials, you can create stools that are not only functional but also stylish and comfortable. Gather your supplies and get started on your next DIY project today!


